I love to use Notion as my go-to writing tool, as it syncs neatly across all of my devices as well as produce clean Markdown outputs. Jotting down ideas and developing an idea into sharable pieces of writing have always been an enjoyable experience for me.
While there may be other ways to set up blogging, I wanted to leverage both Notion and my personal website.
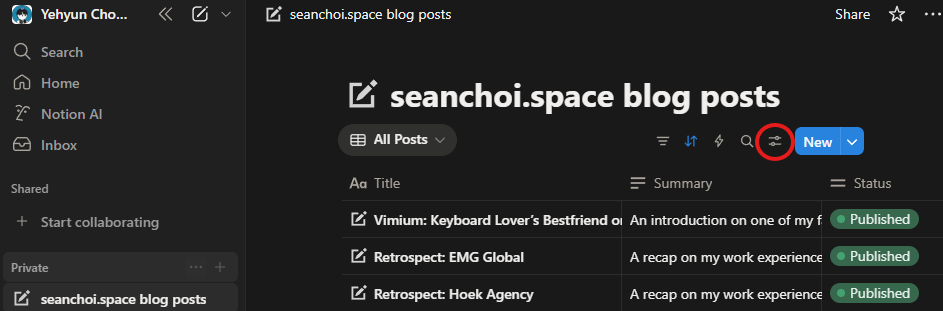
The Set Up
An abstracted architectural overview of my blogging set up is something like this:
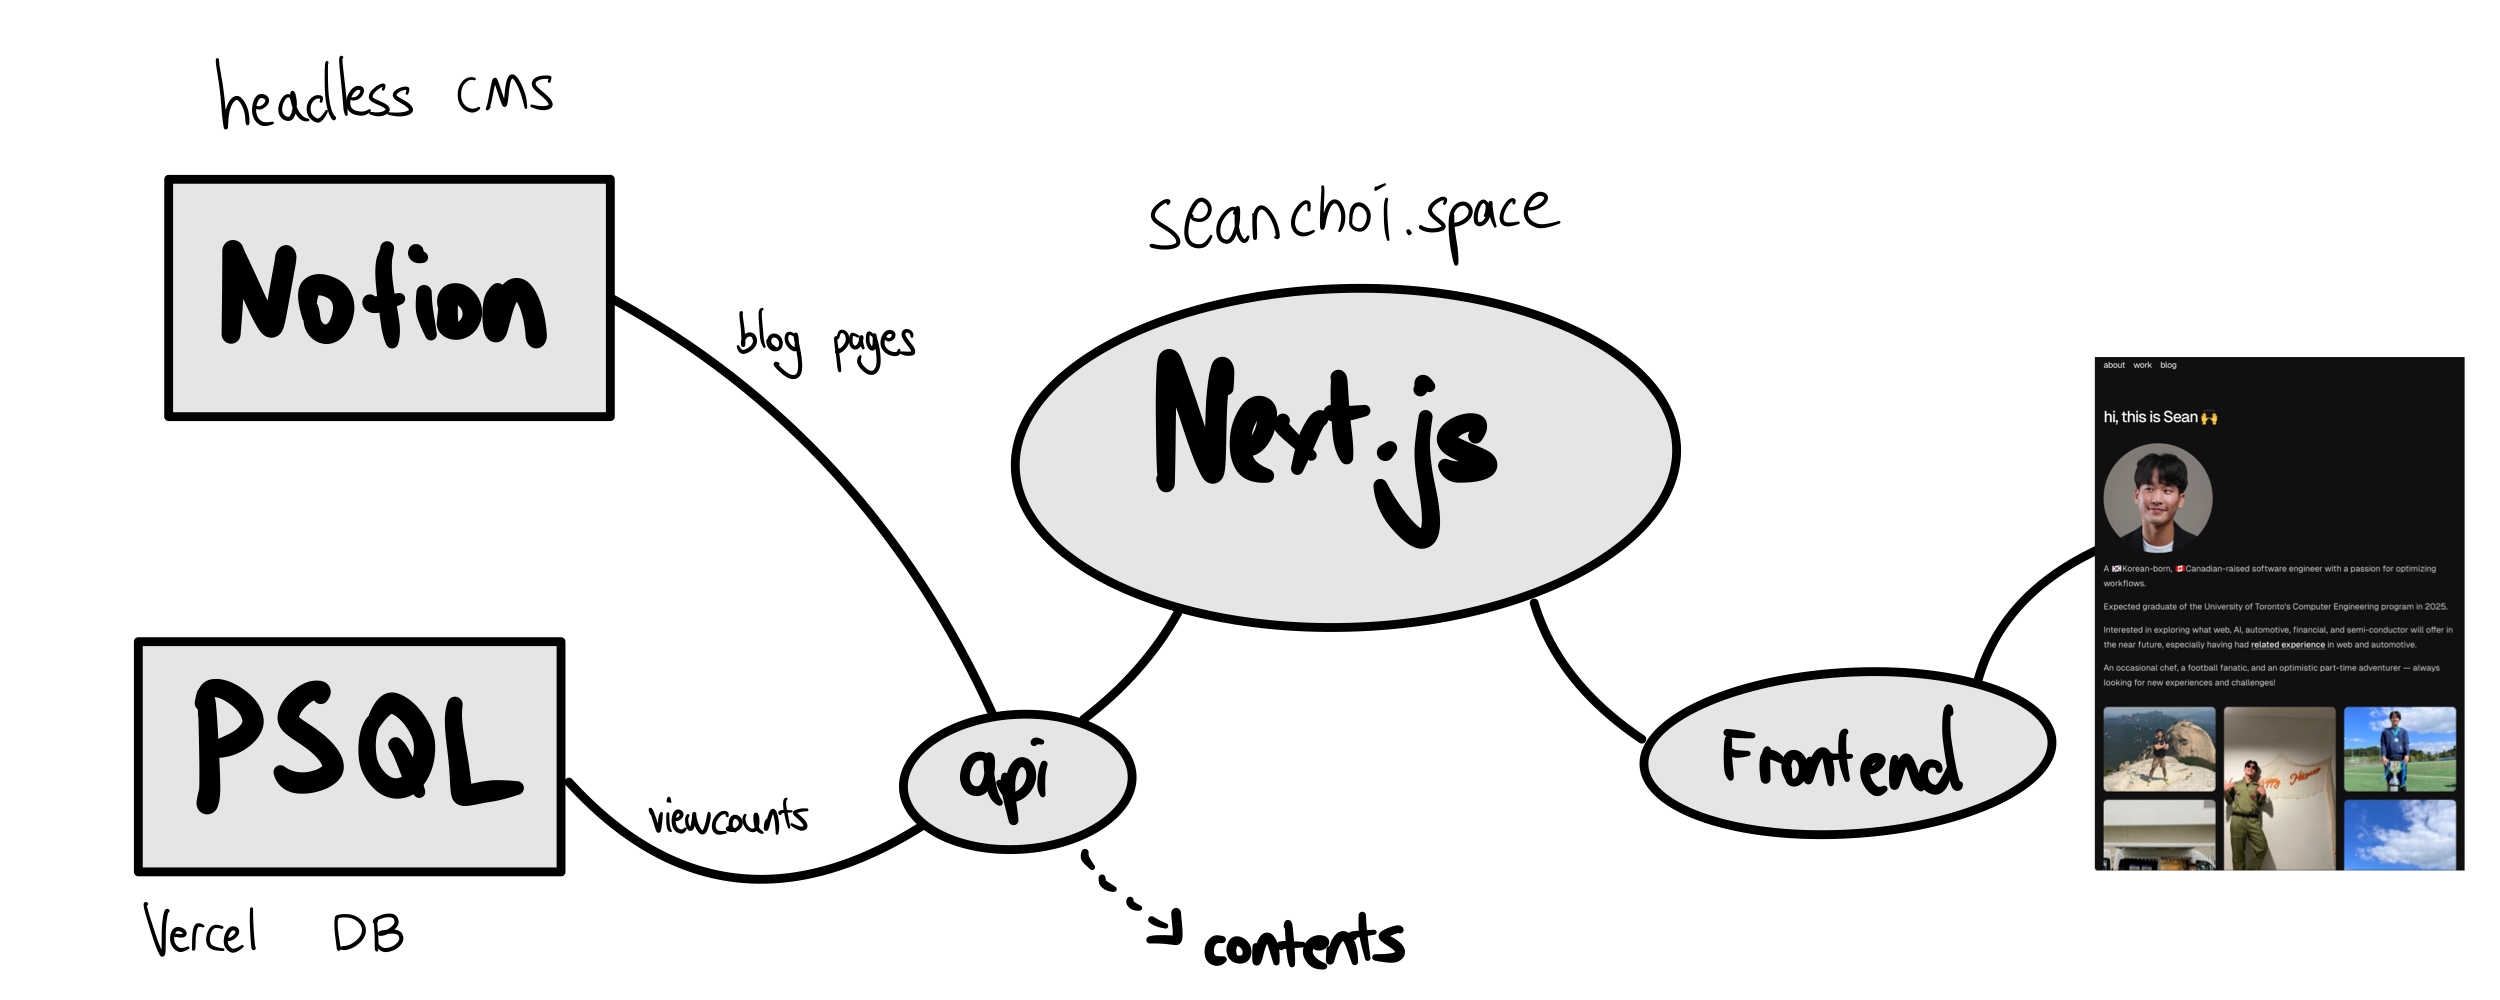
I figured the setup was not complex enough to need a dedicated backend. I resorted to 'use server' Next.js directive and psql package to service blog posts viewcounts — which I will probably discuss more on a different post.
In this post, I wanted to focus on how to set up connections to Notion API to fetch your pages/contents.
Packages
You need to install a few dependencies:
@notionhq/clientto connect to Notion APIsnotion-to-mdto convert notion pages into MDX filesnext-mdx-remoteto convert MDX files into custom React components.
Let’s go one by one to see how I’ve used them in my project.
Notion Integrations
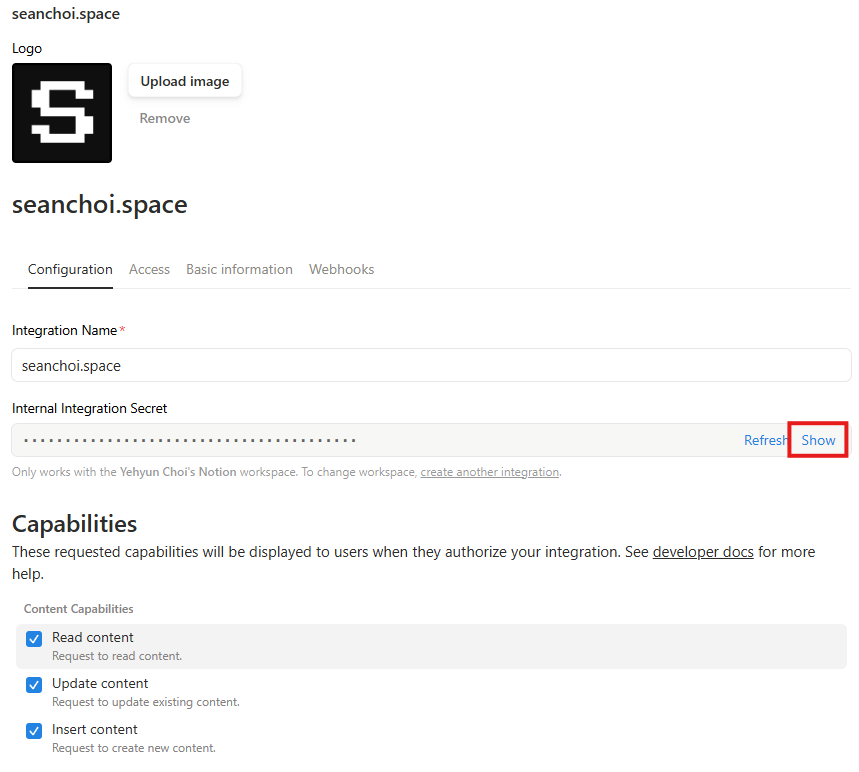
You need to first set up a Notion Integration and obtain your personal NOTION_INTEGRATION_SECRET from Notion Integrations .
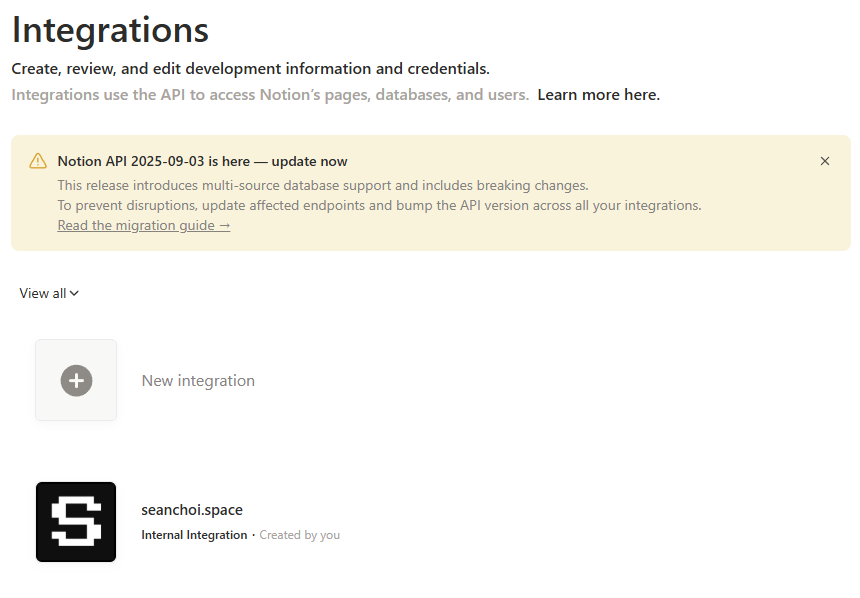
If you create an integration (or already have an integration) you can obtain your notion secret in the integration settings. You need this integration secret to connect to your Notion database/page in your code.
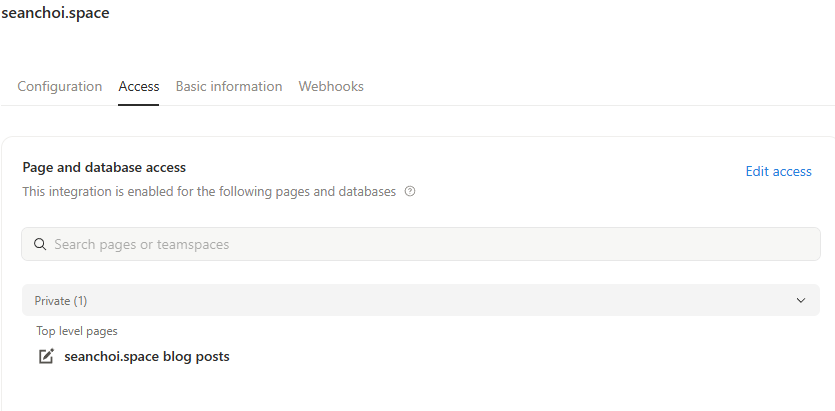
Then you need to select which Notion database / page you want this integration to have access to.
With this set up complete on your Notion developer profile, you can now access it with code!
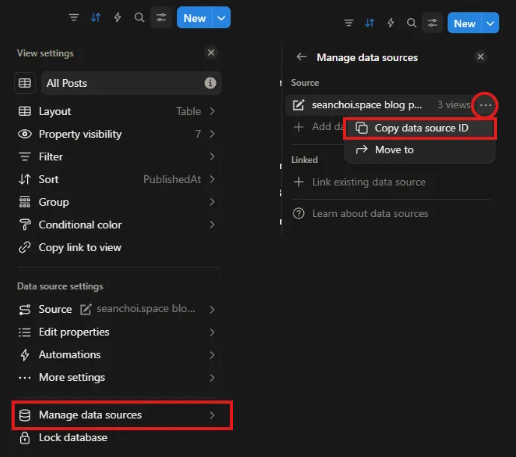
Finding Data_Source_ID
As of September 3, 2025, Notion has bumped up their API versioning (a breaking change) to use data_source_id . My older script was failing to fetch the pages as it was only referring to the database_id.
You can grab your data_source_id from the Notion data source as described here, but I got mine by accessing Settings (of the data source) → Manage data sources → Copy data source ID, like so:
Fetching Pages from Data Source
With the data_source_id specified, you can access the contents of that datasource with the right integration token, as shown on my fetchNotionContents.ts script.
import { Client } from '@notionhq/client';
import { NotionToMarkdown } from 'notion-to-md';

//...environment variable setup

const contentDir = path.join(process.cwd(), 'content');
const imageDir = path.join(process.cwd(), 'public', 'notion-images');
const notionIntegrationSecret = process.env.NOTION_INTEGRATION_SECRET;
const notionDataSourceId = process.env.NOTION_DATASOURCE_ID;

const notion = new Client({
  auth: notionIntegrationSecret,
  notionVersion: '2025-09-03', // bumped API version
 });
const n2m = new NotionToMarkdown({ notionClient: notion });
const dataSourceId = notionDataSourceId!;


const fetchPublishedPages = async () => {
	// ...logic for sync logging

	// request
	const response = await notion.dataSources.query({
    data_source_id: dataSourceId,
    filter: {
      property: 'Status',
      status: { equals: 'Published' },
      // many filtering options exist, but I only used 'Published' status
    },
  });

  for (const page of response.results) {
	  // logic for parsing page data
  }

}
Once I fetch the pages from Notion datasource, I parse them into the appropriate format and save them as an .mdx file. The .mdx files gets converted into React components later using next-mdx-remote package.
You can view the full logic and code on my Github repo !
Next…
With connection covered, I will dive into an image problem I had to resolve while using Notion as my blog post storage.
Stay tuned, and thank you for reading!